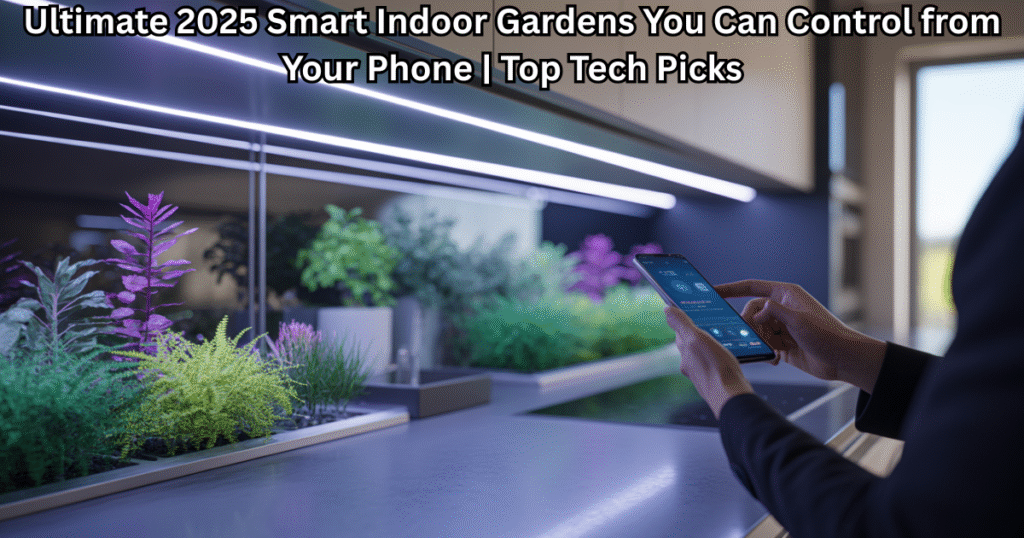
Discover how to complete your smart irrigation system setup easily — no plumber required. Learn step-by-step DIY installation, save water, and grow smarter in 2025.
🌿 Introduction — The Rise of Smart Gardening & Hassle-Free Irrigation
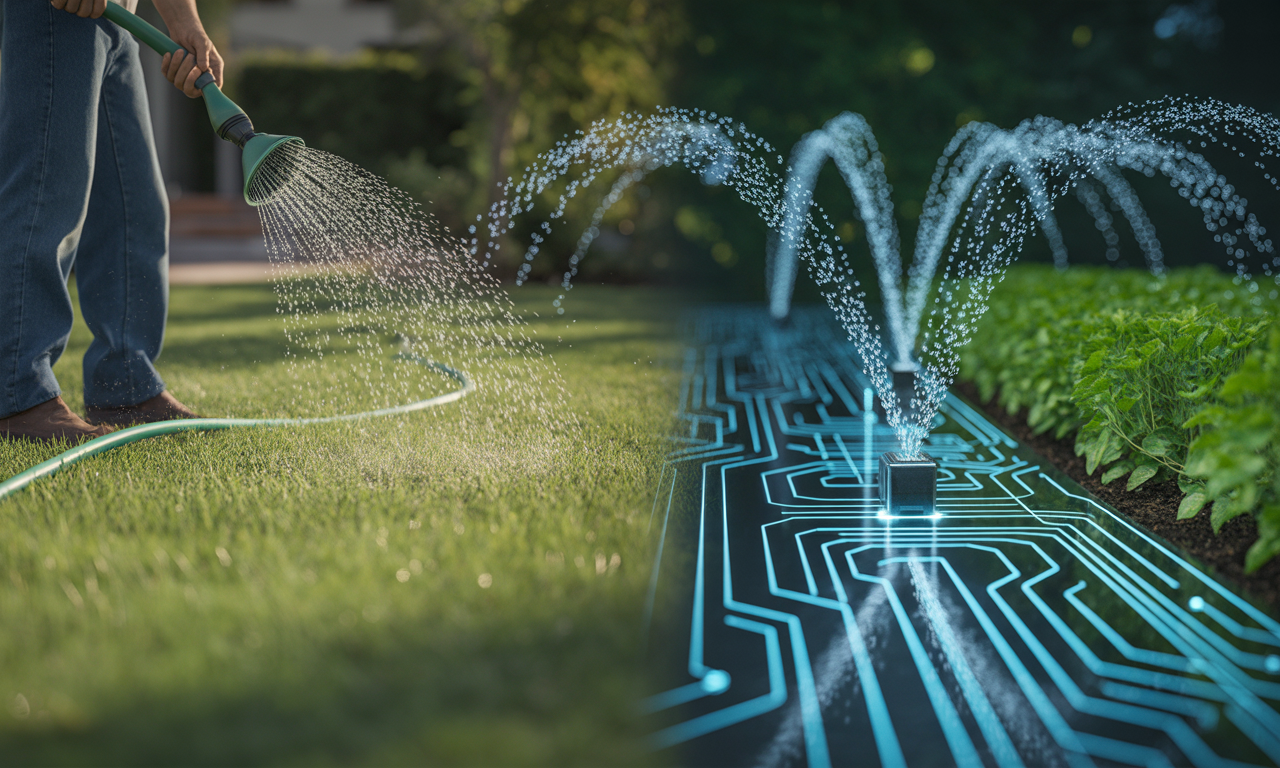
Have you ever walked into your garden after a long day and realized your plants look thirsty — again? Most of us have. Watering plants manually is time-consuming, uneven, and often wasteful. But imagine if your garden could water itself intelligently, adjusting to the weather, soil moisture, and your schedule — no plumber, no wires, and no worries. That’s exactly what modern technology has made possible with smart irrigation system setup.
Unlike traditional sprinklers, these new-age watering systems use sensors, WiFi connectivity, and mobile apps to ensure every drop of water counts. You can now monitor your plants from your phone, automate schedules, and even track water usage. With a little guidance, you can complete your smart irrigation system setup all by yourself — saving hundreds of dollars in installation fees and countless hours in maintenance.
In this guide, you’ll learn step-by-step how to design, install, and optimize your own app-controlled irrigation setup without calling a plumber. From choosing the right tools to fine-tuning your watering schedule, we’ll walk through everything you need to know to turn your garden into a smart, self-sustaining oasis.
By the end of this post, you’ll not only understand how to master smart irrigation system setup but also gain the confidence to automate your entire watering routine — effortlessly.
🌿 What Is a Smart Irrigation System & Why Every Garden Needs One
A few years ago, watering the garden meant standing outside with a hose or setting up a manual sprinkler and hoping it covered every corner evenly. Today, things are very different. With modern technology, you can now enjoy an intelligent, app-controlled watering system that knows exactly when and how much to water — all thanks to smart irrigation system setup.
A smart irrigation system uses sensors, WiFi, and automation to monitor soil moisture, sunlight, and weather patterns in real time. Instead of wasting water through fixed schedules, it adapts dynamically — giving your plants just what they need, when they need it. Think of it as having a personal gardener who never forgets and never overwaters.
The beauty of smart irrigation system setup lies in its simplicity and precision. Once installed, you can control everything through your smartphone — from adjusting watering zones to tracking usage statistics. It’s especially helpful for busy homeowners and urban gardeners who want healthy, thriving plants without constant supervision.
Beyond convenience, these systems are a huge step toward sustainability. By combining sensors and automation, they reduce water waste by up to 50% compared to traditional watering methods. Whether you live in a small apartment with balcony plants or manage a backyard full of vegetables, a smart irrigation system ensures every drop counts.
In short, it’s not just a gadget — it’s a green investment that makes your garden smarter, healthier, and more efficient.
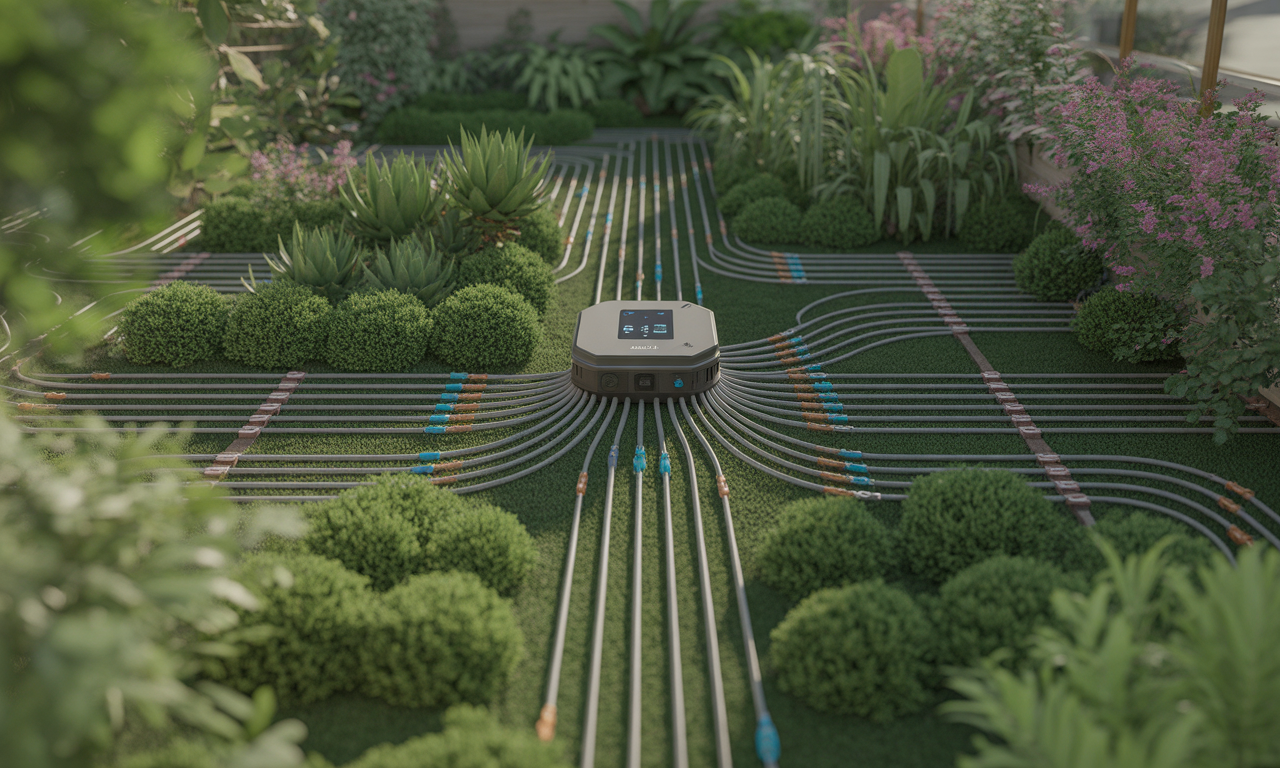
🌿 Key Components You’ll Need for Smart Irrigation System Setup
Before you begin your smart irrigation system setup, it’s essential to understand the main components that make the system work efficiently. Each part plays a unique role in automating your garden’s watering cycle, ensuring that your plants receive the right amount of water with minimal effort.
A smart irrigation system typically includes a controller, sensors, valves, tubing, and a mobile app. Together, they turn your garden into an intelligent, self-regulating ecosystem that saves both water and time.
Essential Components & Their Functions
| Component | Purpose | Setup Tip |
| Smart Controller | Acts as the brain of the system — schedules and manages water flow automatically. | Place it near your WiFi router for stable connection. |
| Moisture Sensor | Monitors soil hydration and sends data to the controller. | Insert 2–3 inches deep into the soil near plant roots. |
| Valves and Fittings | Control and distribute water to different zones. | Use high-quality PVC or drip irrigation valves for durability. |
| Tubing or Drip Lines | Deliver water evenly across your garden zones. | Lay them flat and use clips or stakes for neat alignment. |
| Mobile App (WiFi Controller App) | Allows real-time monitoring, scheduling, and control from your smartphone. | Sync with your irrigation controller before installation. |
Each of these components connects seamlessly through WiFi or Bluetooth, enabling complete remote management. The entire smart irrigation system setup can be done with basic tools — no plumbing expertise required.
Once you gather these parts, you’re halfway to transforming your garden into an automated green haven.
🌿 Step-by-Step Smart Irrigation System Setup
Setting up your smart irrigation system might sound technical, but in reality, it’s a simple and rewarding process that anyone can do with basic tools and a bit of patience. You don’t need a plumber or special wiring skills — just a clear plan, the right components, and a smartphone to guide your progress.
The following steps will help you complete your smart irrigation system setup efficiently, ensuring that your plants receive consistent and intelligent watering throughout the year.
Plan Your Watering Zones
Before you begin installing anything, take a moment to map out your garden. Identify which areas need frequent watering, such as lawns, flower beds, or potted plants, and separate them into zones. This helps the smart controller manage each area based on its water requirements.
Pro Tip: Label each zone in your app so you can easily adjust settings later.
Install the Smart Controller
The controller is the heart of your smart irrigation system setup. Mount it near a power outlet and close to your WiFi router for the best signal. Most models include a mobile app that pairs automatically once powered on.
Connect the controller to your garden’s water supply and link it with your moisture sensors or valves through the app.
You’ll see the real magic when your system starts responding to real-time weather updates or soil moisture changes automatically.
Lay the Tubing and Connect Valves
Run the drip lines or soaker hoses through your garden, keeping them as straight as possible. Secure them with stakes to prevent movement.
Attach your control valves where each zone begins. These valves open and close based on instructions from the controller, delivering the right amount of water at the right time.
Use durable tubing to prevent leaks and ensure a smooth flow throughout the system.
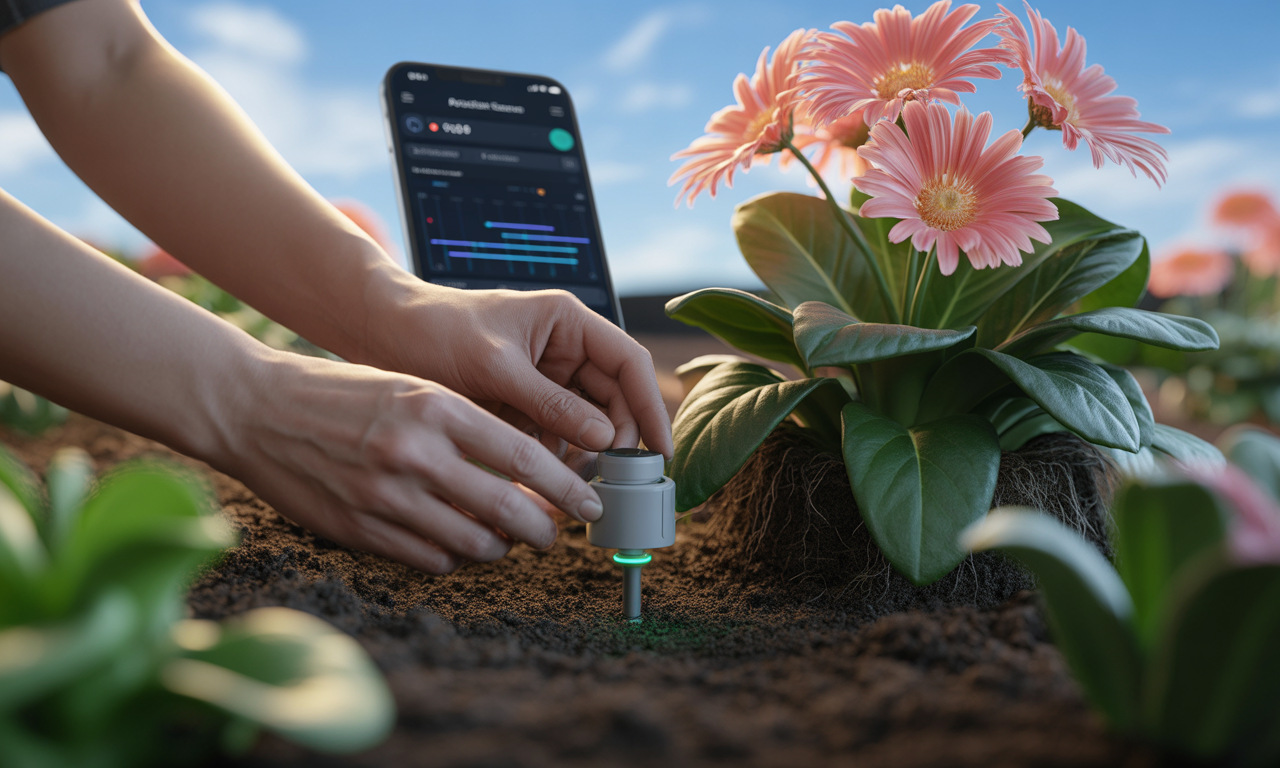
Install Moisture Sensors
Insert sensors about 2–3 inches deep into the soil, near the roots of your plants. Make sure each zone has at least one sensor for accurate moisture data. The controller will use these readings to decide whether watering is needed.
Calibrate the sensors once installed through your mobile app.
Proper placement of sensors is the secret to a perfectly balanced smart irrigation system setup.
Connect Everything Through the App
Download the compatible app that comes with your smart controller. Use it to pair devices, name zones, and set watering preferences. You can adjust schedules manually or let the system run in “smart mode,” where it uses data from sensors and weather forecasts to automate watering completely.
Flow Representation – Smart Irrigation Setup Process
[Plan Garden Zones]
↓
[Install Smart Controller]
↓
[Lay Tubing & Connect Valves]
↓
[Place Moisture Sensors]
↓
[Configure Mobile App]
↓
[Automated Watering Begins]
Test & Optimize Your System
Once everything is connected, run a test cycle. Check for leaks, clogged nozzles, or incorrect sensor readings. If your plants look too dry or too wet after the first few days, tweak the app settings for duration and frequency.
Within a week, you’ll notice a visible improvement in plant health and a significant drop in water wastage.
Your smart irrigation system setup is now complete. From this point onward, the system takes care of everything — watering precisely, saving water, and keeping your plants happy even when you’re away.
🌿 Common Mistakes to Avoid During Smart Irrigation System Setup
Even though modern irrigation systems are designed to make your gardening experience effortless, there are a few common errors that can limit their performance. Avoiding these small missteps will ensure that your smart irrigation system setup runs smoothly and lasts for years.
Think of this section as your quick troubleshooting companion — a gentle reminder of what not to do when bringing your garden automation to life.
Skipping Proper Zone Planning
One of the biggest mistakes people make during smart irrigation system setup is failing to organize their garden into watering zones. Plants in sunny areas often need more water than those in shaded corners. Without separating these sections, your system will either overwater or underwater certain plants.
Pro Tip: Label each zone clearly in your controller app before running your first watering cycle.
Ignoring WiFi Signal Strength
Since most systems rely on wireless connectivity, weak or unstable WiFi can interrupt the app-controlled irrigation setup. Controllers placed too far from the router may struggle to send data or receive commands on time.
Fix: Use a WiFi range extender or position your router closer to the garden area for reliable communication.
Incorrect Sensor Placement
Moisture sensors play a vital role in determining when to water. Placing them too shallow or far from the plant roots will lead to inaccurate readings. This can confuse your controller, causing unnecessary watering or long dry spells.
Always insert sensors about 2–3 inches deep near the root zone of representative plants in each area.
Overlooking Water Pressure and Flow
Many beginners connect their drip lines directly without testing water pressure. High pressure can burst tubing, while low pressure causes uneven watering. Both issues compromise the efficiency of your smart irrigation system setup.
Tip: Install a simple pressure regulator to maintain a steady, balanced flow across all zones.
Neglecting Maintenance and Updates
Even the smartest system needs regular check-ups. Dust, insects, or debris can clog nozzles or block sensor signals. Ignoring firmware updates may also affect app connectivity or sensor accuracy.
Once every month, clean your valves and update your irrigation app to keep everything optimized.
Forgetting to Enable Weather Integration
Most modern systems can sync with local weather forecasts to pause watering before rain or increase frequency during hot spells. Forgetting to enable this feature means you’re missing out on one of the smartest advantages of your setup.
Enable “Weather Sync” or “Smart Scheduling” in your app to fully automate and conserve water efficiently.
Avoiding these small yet impactful mistakes ensures your smart irrigation system setup delivers the best results — minimal water waste, healthier plants, and worry-free automation. Each avoided error brings you closer to a self-managing, eco-friendly garden that truly understands your plants’ needs.
When set up correctly, your smart irrigation system doesn’t just water your garden — it learns from it.
🌿 Maintenance Tips to Keep Your Smart Irrigation System Running Smoothly
Completing your smart irrigation system setup is only the first step. To make sure it performs efficiently throughout the year, a little periodic care goes a long way. Regular maintenance keeps your sensors responsive, valves leak-free, and water flow perfectly balanced — ensuring your garden stays hydrated and thriving without manual effort.
Here are some easy and effective maintenance tips that will help you get the best results from your system while extending its lifespan.
Check for Leaks and Clogs Regularly
Once every few weeks, run a quick system test. Walk along your drip lines and listen for air hissing or water leaks. Clogged emitters are common when soil or debris builds up inside the tubing.
Fix: Flush the lines by running water through them without emitters attached once every month. This will keep your smart irrigation system setup running efficiently.
Clean and Calibrate Moisture Sensors
Moisture sensors are the “eyes and ears” of your system. If they collect dirt or calcium buildup, they may send inaccurate data to the controller.
Gently wipe each sensor with a damp cloth and recalibrate it through your mobile app every few weeks to maintain accuracy.
Inspect Valves and Tubing Connections
Loose or cracked fittings can waste gallons of water unnoticed. Check all joints, valves, and connections to ensure they’re secure and airtight.
If your system uses quick-connect adapters, replace worn rubber rings to prevent leakage during pressure changes.
Update the App and Controller Firmware
Manufacturers frequently release updates that improve scheduling algorithms and weather accuracy. Keeping your controller’s firmware updated ensures smooth app integration and better watering precision.
When your app notifies you of an update, perform it immediately — it’s like a tune-up for your smart irrigation system setup.
Test Water Pressure and Flow Rates
Too much pressure can damage tubing, while low pressure can reduce coverage. Every season, test your water pressure using a simple gauge.
Ideal range: 25–35 PSI for most drip systems. If your water pressure fluctuates, install a pressure regulator or backflow preventer.
Winterize Before Cold Weather
If you live in an area with freezing winters, drain all water from your irrigation lines before temperatures drop. Ice expansion can crack pipes and fittings.
Pro Tip: Disconnect the controller and store it indoors to protect its electrical components.
Use App Insights for Optimization
Most modern apps provide performance analytics. Review your system’s watering logs once a month to see trends or potential inefficiencies.
Adjust schedules based on weather changes or seasonal plant needs — this helps maintain an eco-friendly and cost-effective routine.
With just a few minutes of attention each month, your smart irrigation system setup will stay healthy, responsive, and accurate for years. Consistent maintenance not only improves system reliability but also ensures your plants enjoy optimal watering without waste.
Remember, the smarter your care, the smarter your garden becomes.
🌿 Cost Analysis — Doing It Yourself vs. Hiring a Plumber
One of the most satisfying parts of a smart irrigation system setup is realizing how much you can accomplish on your own — and how much you can save in the process. While hiring a professional plumber might seem convenient, modern smart systems are designed with homeowners in mind. They are modular, easy to install, and require only a few basic tools.
Doing the installation yourself isn’t just about saving money; it’s about understanding how your system works and being able to fine-tune it anytime you wish.
DIY vs. Professional Setup — Quick Comparison
| Aspect | DIY Smart Irrigation System Setup | Hiring a Plumber |
| Cost | $120 – $250 (including smart controller and tubing) | $400 – $800 installation fee plus parts |
| Time | 2–3 hours on average | 1–2 days depending on complexity |
| Skill Required | Basic tools & app-based pairing | Technical plumbing & wiring |
| Maintenance | Easy self-checks through the app | Ongoing service calls required |
| Learning Value | Full control & understanding | Limited insight into the system |
| Warranty Impact | Typically remains valid if self-installed | Dependent on installer’s policy |
Why DIY Wins
- Smart irrigation kits are plug-and-play. Most models use quick-connect fittings and pre-coded controllers that pair instantly with their apps.
- You gain long-term independence. Knowing how your valves, sensors, and controller interact makes troubleshooting simple.
- Immediate savings. The difference between DIY and professional setup can easily reach $500, enough to buy premium accessories or extra sensors for your garden.
Pro Tip: Before starting your smart irrigation system setup, watch the manufacturer’s short video tutorials. They walk you through every connection and calibration step visually, making the process even easier.
When to Consider Professional Help
If your property has a complex underground sprinkler network or hard-to-reach valves, hiring a licensed plumber may still be worthwhile. They can integrate your new smart controller with existing systems or upgrade your backflow preventers to meet local regulations.
For most homeowners, though, a DIY installation remains the most cost-effective and empowering route.
Doing your own smart irrigation system setup gives you the confidence to manage your garden’s technology from start to finish. You’ll understand how every drop of water is measured, delivered, and optimized — without paying hundreds for an installation that you can easily master yourself.
Think of it as more than just saving money — it’s investing in self-reliance and smarter living.
🌿 Eco-Impact — Why Smart Irrigation Is the Future of Gardening
Modern gardening isn’t only about nurturing plants; it’s also about protecting the planet. A well-designed smart irrigation system setup helps conserve water, reduce energy use, and encourage sustainable living — all while keeping your garden lush and vibrant.
The traditional sprinkler systems we grew up with waste thousands of gallons of water every year through overwatering and evaporation. In contrast, smart irrigation systems use real-time data from sensors and weather forecasts to deliver just the right amount of moisture your soil needs. This precision transforms gardening into an eco-conscious act that benefits both nature and your wallet.
How Smart Irrigation Reduces Environmental Impact
| Aspect | Traditional Watering | Smart Irrigation System Setup | Environmental Benefit |
| Water Usage | Fixed timers, high waste | Sensors adjust to soil moisture | Up to 50% water savings |
| Energy Efficiency | Manual or electric timers | Automated low-power controllers | Minimal electricity use |
| Fertilizer Runoff | Frequent overwatering | Balanced hydration prevents runoff | Cleaner soil and groundwater |
| User Control | Limited adjustment | Full app-controlled irrigation setup | Reduces unnecessary cycles |
| Sustainability | High resource consumption | Uses predictive weather data | Promotes long-term ecosystem balance |
This small shift from manual control to intelligent automation creates a big environmental impact. Each smart irrigation system setup saves thousands of gallons of water per year — a crucial change in areas facing water scarcity.
Supporting Sustainable Living
By adopting a smart irrigation approach, you are not only reducing waste but also aligning your home with global sustainability goals. Every drop saved contributes to:
- Lower water bills and reduced energy use.
- Less strain on municipal water systems.
- Improved soil health due to balanced moisture cycles.
- A smaller carbon footprint through efficient resource management.
Smart irrigation isn’t just about convenience — it’s about creating a greener legacy for the future.
Pro Tip
Pair your smart irrigation system setup with a rainwater harvesting tank or solar-powered controller. This combination turns your garden into a self-sustaining ecosystem that relies on renewable resources.
A greener world begins right in your backyard — one drop of water at a time.
🌿 Pro Tips & Expert Hacks for Perfect Irrigation
Once your smart irrigation system setup is up and running, the next step is optimization — getting every feature to work in perfect harmony. These practical tips and expert hacks will help you maximize your system’s efficiency, extend its lifespan, and give your plants exactly what they need every time.
The secret isn’t just in the technology; it’s in how you use it. Smart gardeners know that the smallest adjustments often make the biggest difference.
Fine-Tune Your Moisture Levels
Every soil type absorbs and holds water differently. Instead of relying on default app settings, customize moisture thresholds for each zone. Sandy soil needs more frequent watering, while clay soil requires less.
Tip: After a week of testing, check soil dampness manually to see if the readings from your smart irrigation system setup match real conditions.
Leverage Weather Forecast Integration
Modern controllers use predictive weather data to adjust watering schedules automatically. Enable this feature in your app so your system can skip watering before rain and increase it during heat waves.
This single change can reduce unnecessary watering cycles by nearly 25%.
Use Multiple Sensors Strategically
For large gardens, one moisture sensor isn’t enough. Place additional sensors in zones with varying sun exposure or plant density. This ensures uniform hydration and prevents overwatering shaded areas.
Expert gardeners often pair sensors diagonally across wide plots for better data accuracy.
Schedule Watering at the Right Time
The best time to water is early morning or late evening when evaporation is minimal. Set your smart irrigation system setup to run during these cooler hours to save more water and prevent fungal growth.
Bonus: Some apps let you create “seasonal modes” — perfect for adjusting to changing daylight patterns.
Combine Smart Irrigation with Smart Fertilization
If your controller supports it, integrate a liquid fertilizer injector with your drip system. This allows nutrients to flow evenly along with water, improving soil quality and plant growth.
It’s like turning your garden into a precision agriculture system — right at home.
Check Performance Reports in Your App
Most irrigation apps generate usage analytics showing how much water your garden consumed daily or weekly. Review these stats once a month to identify patterns or inefficiencies.
Over time, these insights help you fine-tune your system for maximum water savings and healthier soil.
Applying these simple strategies makes your smart irrigation system setup not just automated but intelligent — capable of responding dynamically to nature’s rhythm. Your plants will thrive, your water bills will drop, and your garden will stay lush with minimal input.
When you master the system, every drop becomes intentional — and every plant becomes proof that technology and nature can grow together.
🌿 Best Smart Irrigation Kits to Buy in 2025
Choosing the right irrigation kit can make your smart irrigation system setup easier, faster, and far more efficient. The best models come pre-calibrated, app-ready, and compatible with most garden types — making them ideal for both beginners and experienced gardeners.
Here’s a quick comparison of the top-performing kits in 2025 that blend smart control, energy efficiency, and durability.
| Smart Irrigation Kit | Best For | Unique Feature | Average Price |
| Rachio 3 Smart Sprinkler Controller | Home gardens & lawns | WiFi-based weather adaptation + Alexa integration | $180 |
| Orbit B-hyve XR | Urban apartments & balconies | Bluetooth & WiFi hybrid control, water-sense certified | $140 |
| RainPoint WiFi Controller Kit | DIY beginners | Easy app setup + dual-zone control | $110 |
All of these systems allow you to manage your watering schedule via mobile apps. Whether you want to automate a large lawn or a small patio garden, these brands provide excellent balance between cost and performance.
Internal Link Suggestion:
👉 Explore detailed product reviews on our Smart Gardening Tools page.
❓ FAQ
Q1: What tools do I need for smart irrigation system setup?
You’ll need a smart controller, moisture sensors, drip tubing, valves, and a smartphone with the compatible app. Most kits include everything required for easy DIY setup.
Q2: Can I connect my smart irrigation system to Alexa or Google Home?
Yes, many modern systems — like Rachio or Orbit — offer full smart assistant integration for voice control and automation.
Q3: How long does a complete setup take?
Most DIY users finish their smart irrigation system setup within 2–3 hours, depending on the garden size and number of zones.
Q4: Will a smart irrigation system increase my electricity bill?
No. These devices are energy-efficient and use minimal power (often less than 10 watts).
Q5: How often should I clean my moisture sensors and valves?
Check and clean them monthly to ensure accurate readings and smooth operation.
Q6: What’s the biggest benefit of switching to smart irrigation?
You’ll save up to 50% water annually, reduce garden maintenance time, and enjoy healthier plants.
Q7: Can I use these systems indoors or on balconies?
Absolutely! Compact models like RainPoint are perfect for indoor herb gardens or apartment setups.
🌿 Conclusion — Smarter Watering for a Greener Tomorrow
Mastering your smart irrigation system setup is more than just a gardening upgrade — it’s a lifestyle shift toward sustainability and simplicity.
These intelligent systems give you freedom from manual watering while ensuring your plants thrive in perfect balance. You gain more time, save more water, and help the planet at the same time.
From planning your zones to syncing your WiFi controller, every step you take adds intelligence to your green space. Whether you’re nurturing a home garden, rooftop patch, or balcony oasis, your system learns and adapts — giving every plant the right care without waste.
By doing your smart irrigation system setup yourself, you’ve not only saved money but also gained control over one of your home’s most valuable resources: water. You now understand how every drop moves, how sensors respond, and how your garden flourishes — because you made it happen.
Water smart. Live green. Let your garden grow effortlessly — just the way nature intended.
💡Looking for something different? Check out our latest post here: https://gardeniva.com/smart-indoor-gardens-2025/