INTRODUCTION:
Want to start a raised bed garden—but think it’s too complicated or expensive?
Think again. You don’t need power tools, a workshop, or a carpenter’s license to build your own raised bed.
In fact, I built my first cedar raised bed in just 60 minutes, with minimal tools and under $100—and it changed my entire gardening game.
In this post, I’ll walk you through a simple, step-by-step tutorial for creating a gorgeous, durable, and chemical-free cedar raised bed—perfect for veggies, herbs, or flowers.
Whether you’re a backyard grower, balcony gardener, or brand-new beginner, this guide will empower you to build your bed and grow your food—with confidence.
🧩 TABLE OF CONTENTS:
- Why Raised Beds Are a Game-Changer
- Why Cedar Is the Best Wood for the Job
- What You’ll Need (Tools & Materials List)
- Step-by-Step Building Instructions (with Tips)
- Soil Mix Recommendations for Raised Beds
- Best Plants to Grow in Your First Raised Bed
- Design Variations: Tall Beds, Corners, Add-ons
- Mistakes to Avoid as a First-Time Builder
- Budget Breakdown: What It Really Costs
- Final Thoughts: From DIY to Daily Harvest
- FAQ Section
- Image Prompts (x3)
1. 🌿 Why Raised Beds Are a Game-Changer
Raised beds offer:
- 🪴 Better soil control
- 🐛 Fewer pests and weeds
- 💦 Improved drainage
- 🌞 Easier access (no back strain!)
- 💡 Aesthetic garden structure
“After years of container gardening, switching to raised beds increased my veggie yield by 2x—without using more space.”
Plus, you can start fresh, even if your native soil is poor or contaminated.
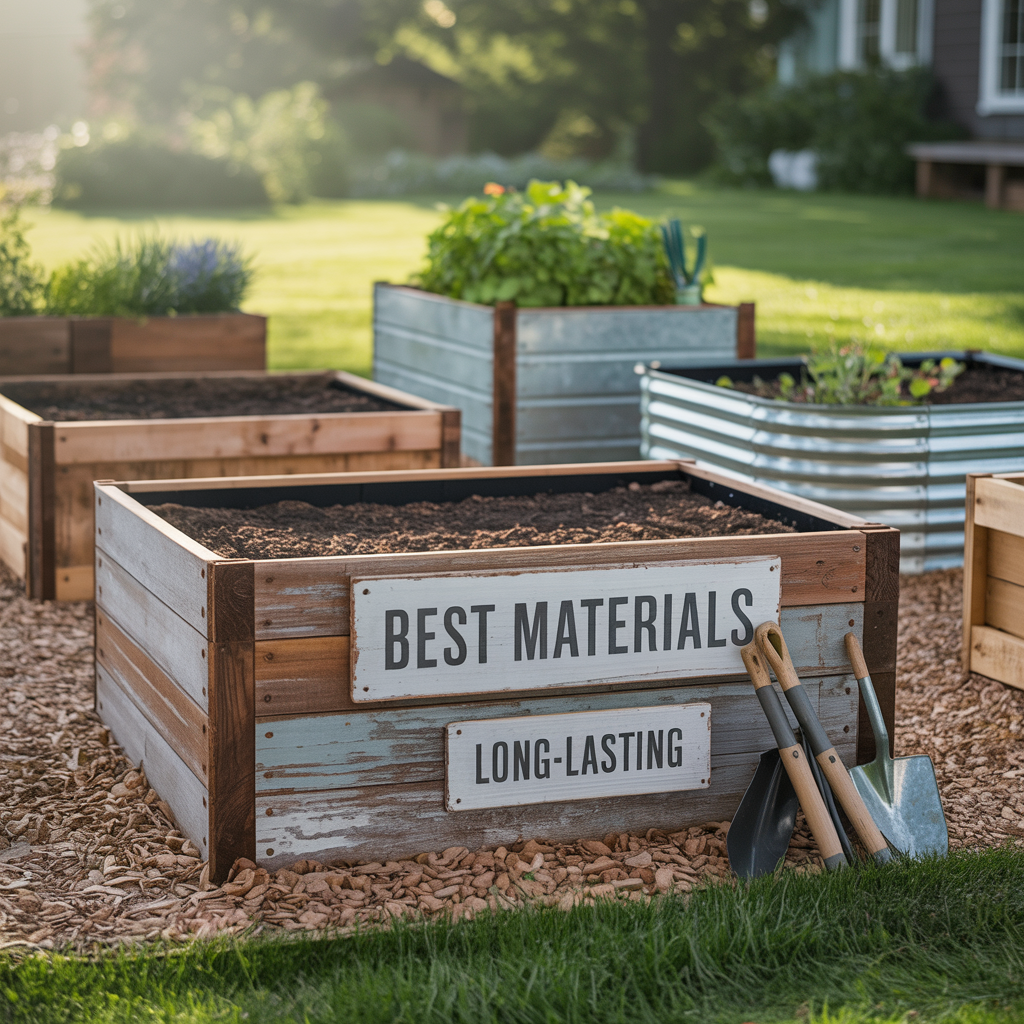
2. 🌲 Why Cedar Is the Best Wood for the Job
Not all wood is equal for gardening. Cedar is:
- ✅ Naturally rot-resistant
- ✅ Repels insects and fungi
- ✅ Sustainable & safe (no toxic treatment)
- ✅ Lasts up to 10–15 years outdoors
- ✅ Smells amazing!
Avoid pressure-treated wood—it may contain chemicals that leach into your soil.
3. 🧰 What You’ll Need (Tools & Materials List)
Materials (for 4ft x 2ft x 12in bed):
- (2) Cedar boards – 4 ft (1×12)
- (2) Cedar boards – 2 ft (1×12)
- (4) Corner stakes/posts – 2 ft (2×2 or 4×4)
- Deck screws (1.5”–2”)
- Landscape fabric (optional for weed barrier)
Tools:
- Electric screwdriver or drill
- Measuring tape
- Wood clamps (optional but helpful)
- Saw (only if cutting your own boards)
- Level (optional)
Total Estimated Time: ~60 minutes
4. 🛠 Step-by-Step Building Instructions
✅ Step 1: Choose a Level Spot
Find a sunny area (6–8 hours/day). Clear grass/weeds.
✅ Step 2: Arrange Boards in Rectangle
Lay out the cedar planks as your bed frame—long sides opposite short sides.
✅ Step 3: Screw the Boards Together
Use 2–3 deck screws per corner. Drill through the side board into the edge of the adjoining board.
Tip: Clamp corners tightly or have someone hold them flush.
✅ Step 4: Attach Corner Posts
Screw each post inside the corners for added strength. Flush with the top edge.
Optional: If you want taller beds, make posts longer and anchor them into the ground.
✅ Step 5: (Optional) Add Weed Barrier
Lay landscape fabric inside the frame and secure it with staples or soil.
✅ Step 6: Fill With Soil Mix (More Below)
That’s it—your raised bed is ready for planting!
🎉 Bonus: If you use pre-cut boards from a home store, this build takes under an hour—even for beginners.
5. 🧪 Soil Mix Recommendations for Raised Beds
For a healthy, productive bed, use this “Mel’s Mix” inspired formula:
- 🥥 1/3 Coconut Coir or Peat Moss (for aeration)
- 🐛 1/3 Compost (homemade or store-bought)
- 🪨 1/3 Vermiculite or Perlite (for drainage)
You can also add:
- Worm castings for nutrients
- Bone meal or rock phosphate for root crops
- Mycorrhizal fungi to improve soil health
Avoid regular garden soil—it’s too heavy and compacted for raised beds.
6. 🌱 Best Plants to Grow in Your First Raised Bed
Beginner-friendly picks include:
- 🥬 Leafy greens (lettuce, kale, spinach)
- 🌿 Herbs (basil, parsley, cilantro)
- 🥕 Root veggies (carrots, radish, beets)
- 🍓 Strawberries
- 🧄 Garlic and onions
- 🫑 Peppers (if warm climate)
Spacing tip: Follow seed packet instructions or use a square-foot gardening grid (1 ft x 1 ft = 1 zone).
7. 🧩 Design Variations: Tall Beds, Corners, Add-ons
- Double-height beds (24″ tall) = less bending
- U-shaped beds for accessibility
- Built-in trellises for vining crops (tomatoes, beans)
- Corner joiners for expandable layouts
- Paint or seal the outside (non-toxic paint only!)
8. 🚫 Mistakes to Avoid as a First-Time Builder
- ❌ Using pressure-treated lumber
- ❌ Skipping corner support posts
- ❌ Not leveling the ground
- ❌ Using compacted or poor soil
- ❌ Ignoring sunlight needs (shade = slow growth)
- ❌ Planting too densely
9. 💰 Budget Breakdown: What It Really Costs
| Item | Cost Estimate |
|---|---|
| Cedar Boards | $40–$60 |
| Screws & Tools | $10 |
| Corner Posts | $10 |
| Soil & Amendments | $30–$50 |
| Optional Add-ons (fabric, paint) | $10–$20 |
| Total | $90–$130 for a long-lasting, premium bed |
Compare that to buying a pre-made cedar bed online for $150+—and it’s clear: DIY wins.
10. 🧠 Final Thoughts: From DIY to Daily Harvest
Building your own cedar raised bed isn’t just satisfying—it’s transformational.
It gets you outdoors. It connects you to your food. And it proves that you can build something with your own hands—even if you’ve never used a drill in your life.
Start small. Grow smart. And let your new raised bed be the beginning of your homegrown success story.
❓ FAQ Section
Q1. Can I use nails instead of screws?
Technically yes, but screws hold up much better over time—especially outdoors.
Q2. Does the bed need a bottom?
No. Raised beds sit directly on the ground. Add a weed barrier if needed.
Q3. How deep should a raised bed be?
12–18 inches is ideal for most veggies and herbs.
Q4. Will cedar leak chemicals into my soil?
No. Cedar is naturally rot-resistant and safe for organic gardening.
Q5. How long will a cedar bed last?
With proper care, 10–15 years or more.